How to Black Balance Kinefinity cameras is an article about black balancing cinema cameras in special Kinefinity cameras.
One of the main causes of digital image issues is NOT adjusting the black balance when the situation dictates it. We all know that Kinefinity cameras can suffer from ‘scanning line’ issues like any camera with a cmos sensor and no noise reduction. No noise reduction is a good thing because no camera in the world can do real time noise reduction on a high level, and also noise reduction cant be reversed in post. For this article let’s not go too much in depth with all artifacts caused by an incorrect black balance, they speak for themselves and if you haven’t seen them, that’s good news and your camera is probably perfectly black balanced.
The nature of camera development is that its dynamic, and the issue with writing such articles like this, is that they remain static, unless we change them frequently which is not the case.
To black balance or not to black balance?
A CMOS sensor requires a proper lower black level upon which to build a RGB image and it uses black balance to establish this base. In fact that’s why it’s called the pedestal, because everything is build on top of it. Issues like noise due to dark currencies and scanning artifacts are dialed out during a black balance, so there is no noise added to luminance levels outside the dynamic range of the camera. The blacks in the image might contain weird artifacts like scanning noise or FPN when not set up properly. We also have to frequently re-balance when conditions change. It’s a good idea to black balance when ambient temperature conditions change dramatically or when there is a notable issue with the signal. Black balancing may be necessary when using the camera for the first time or after a prolonged storage. Also repeatedly switching from 1st base iso to 2nd base iso or changing iso gain, might also introduce black balance issues. You may feel temped to add a lens cap and start your black balance right away but not so fast!
How to black balance
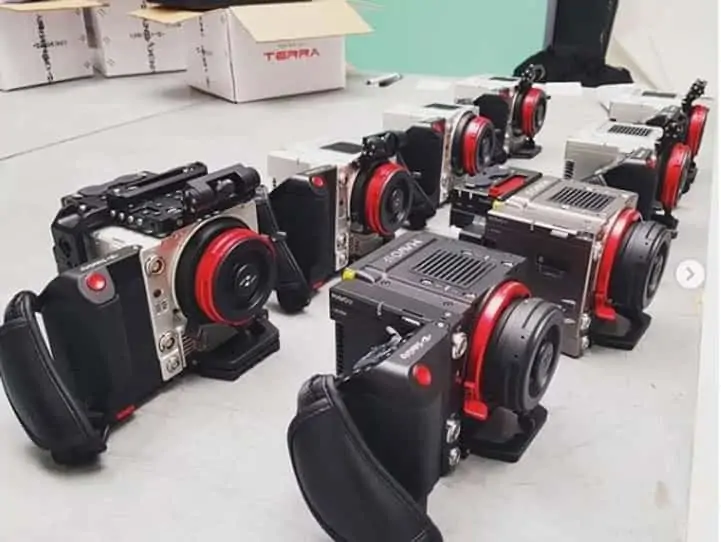
Even though Kinefinity has produced a number of different cameras, the procedure of blackbalancing is very similar.
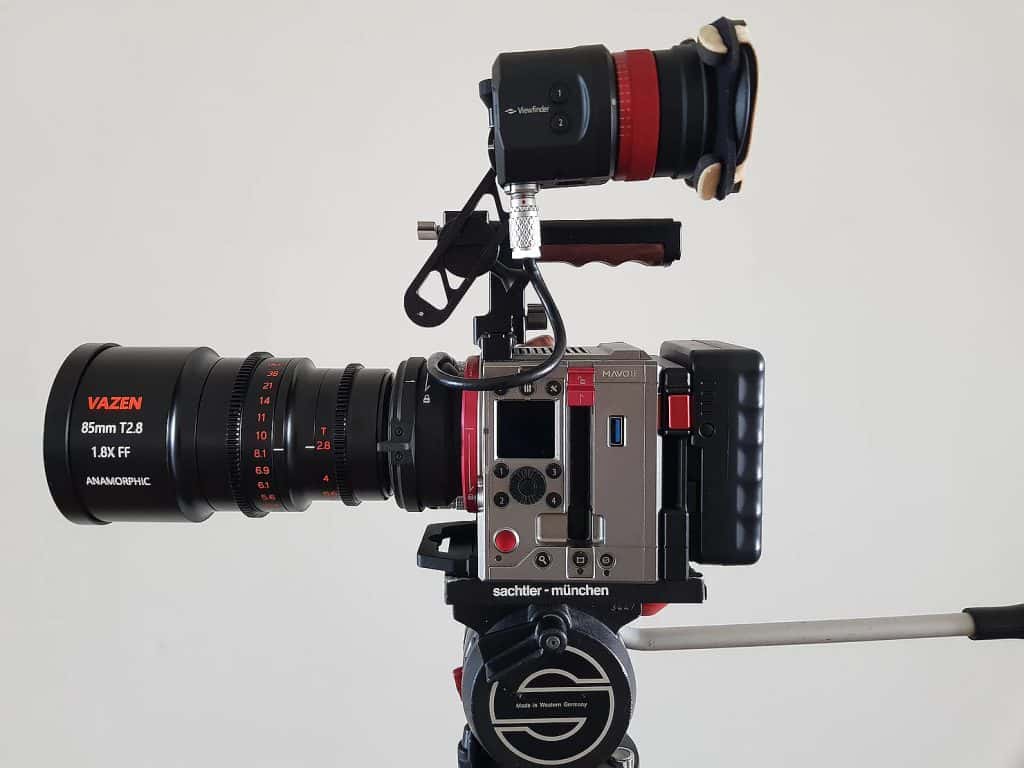
The first thing we do is taking the lens off the camera and placing a cap on the lens mount. We power the camera and warm it up for a good bit. You may think that the camera is already on it’s average temperature, but please note that the temperature which is displayed in the user interface is the body temperature and not the sensor temperature. Also the fan which can be dialed in by the user is only adjusting airflow inside the camera and not effecting the sensor directly. The camera has a dedicated fan on the sensor itself, but unlike heavy camera’s like the Arri Alexa it doesn’t have full climate control, which is why the Kinefinity cameras have to have a black balance now and then, this is also one of the reasons why a Alexa consumes 4X more power than a Kinefinity camera.
Preparations
After the camera is warmed up for a minute or 5, we are probably reaching a stable point in sensor temperature, which is close to the actual shooting scenario. We can speed up this process by disabling our body fan, but don’t go beyond 60 degrees body heat. Now quickly check your battery power which should be enough to power the camera for at least 10-20 minutes and power off the camera.
Entering calibration mode and execute black balance
- When the camera is powered off we hold the menu button (tool button) on the operators side (not on the side handle like on the Terra side handle or Mavo Lf, or Edge owners there is only one way luckily).
- While holding the menu button we power up the camera, now we count to 1… 2… 3… 4… and let go the menu button.
- The camera will now be booted in ‘Calibration mode’, we will notice this right away when entering the UI; in Orange letters it will say Calibration mode.
- We advice to keep all settings like they are dialed in by Kinefinity, so dont start to play around with any of the settings.
- Now go to the lowest entry of the menu>system, find black calibration (can be on different spots regarding which camera you use, but should be easy to find), ensure yourself that there’s a mount cap on the mount, and don’t expose the camera to extreme amounts of light (even the slightest light leak in the mount can ruin our black calibration party).
- Hit OK and wait until the camera is done with the black calibration.
- Turn the camera off and boot again in normal mode.
Sidenotes
Gafpa Gear highly advices to operate the cameras in ISO mode and keep the HS (highlight stop) at 4.3 (5.0 in Edge cameras) and for mapping more highlights above mid gray simply use Gafpa Gear’s ETTL luts, and expose accordingly. For the best shadow quality we advice to keep the camera on it’s very lowest iso (if you are in iso mode, because when in ei mode, iso is always native). If you keep the camera on it’s lowest iso the amplification is the lowest, its a unique feature of Kinefinity camera because most cameras (red, alexa etc), only use digital gain. Obviously yo should not underexpose , and when the stituation asks for it higher your iso to get a good amount of shadow details. Checking your image in log is a good way to open the shadows and check how they behave (use the magnify button to get closer)
Post-production with scanning line artifacts
Since Kinefinity cameras are so called cinema cameras, we advice to use dedicated software for post producing the images. Cinema cameras not only need dedicated color grading but also noise treatment. Kinefinity only uses Noise reduction for base noise removal which is executed by black balancing. Unlike most usual suspects (Z-cam Blackmagic, Sony, Canon, Panasonic) Kinefinity doesn’t use noise reduction in camera. One might say that a camera that records in the so called raw format cannot have noise reduction but that’s not true. Reason Kinefinity doesn’t use in-camera noise reduction is because in a post-production environment we can work with more data, and choose how and to what degree we want to clean it up. A high-end noise reduction requires tremendous amounts of processing power and thus using real-time in-camera noise reduction will lead to low-fi shadows due to it’s simplified algorithm .
Getting rid of these ugly lines
Watch the YouTube tutorial down below by Gafpa Gear. The paradox is that even though the scanning lines were severe, YouTube compression equals scanning line removal. But the less noise the better YouTube compression works thus the cleaner and sharper your images are being displayed on YouTube. More noise means more information, thus the compression will kick in more, and destroys all the beautiful characteristics of your Kinefinity footage. We therefor highly recommend to use de-noising passes by default.
Working with a cinema camera requires some knowledge about post-production to get the best out of the images. Noise reduction is an important part of that image chain.
There’s no film being mastered without having first a noise reduction pass. If the scanning lines are at an acceptable level (close to the pedestal), they are quite easy to dissolve.
That’s why cameras with in-camera noise reduction often don’t reveal these artifacts.
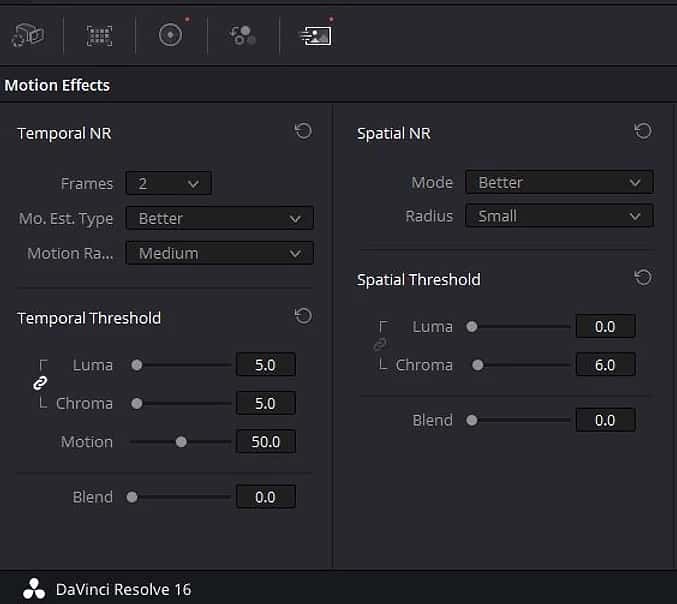
Since most people use Davinci Resolve for their post-production, we will quickly share some insights in how to get rid of these lines with Davinci Resolve’s noise reduction (only available in the paid version). If your computer is fast enough and you are a bit more experienced with noise reduction we advice you to try Neat Video v5’s OFX plugin for resolve, which has an even better dedicated scanning lines removal tool. We might do a tutorial on that one too, but that demands a new blog posts. In Resolve we always apply noise reduction on the very first node and don’t apply any other effects or grades to that one node. Noise reduction requires a lot of processing power and after you’ve dialed in the right amount of noise reduction you can easily switch off this node for fluent playback. Once you’re ready for export you can enable it back again. In the tutorial we use a more advanced method, but if your here for a quick solution than copy the settings down below on your first node.
